Active Directory initial setup
28 May 2020Explanation
Active Directory is a directory service for Windows domain networks.
This is a walkthrough of the initial setup using Windows Server 2019.
Solution
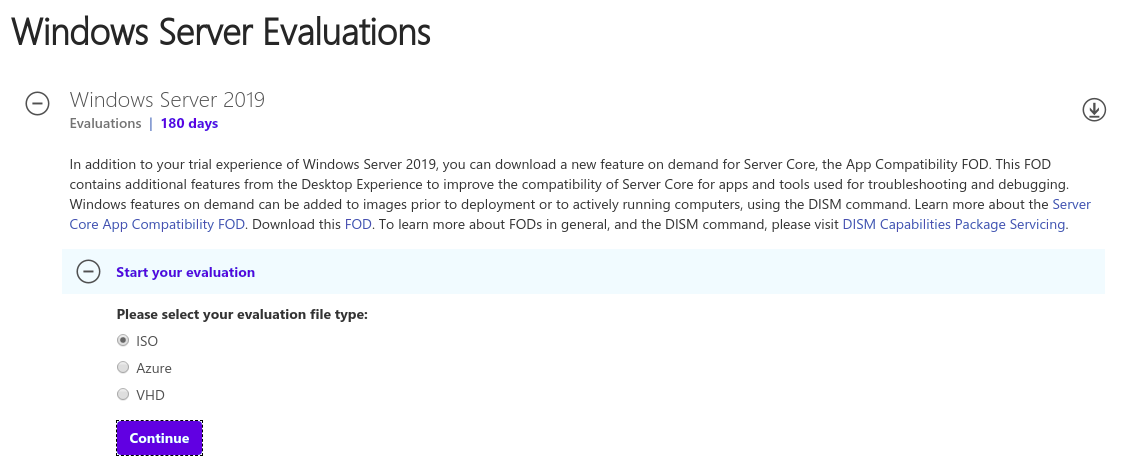
1. Download ISO
Go to Try Windows Server on-premises or on Azure and click “Download free trial”.
We can download the ISO of Windows Server 2019.
2. Creating VM on Virtualbox
I don’t wanna write since it’s gonna be too lengthy!!
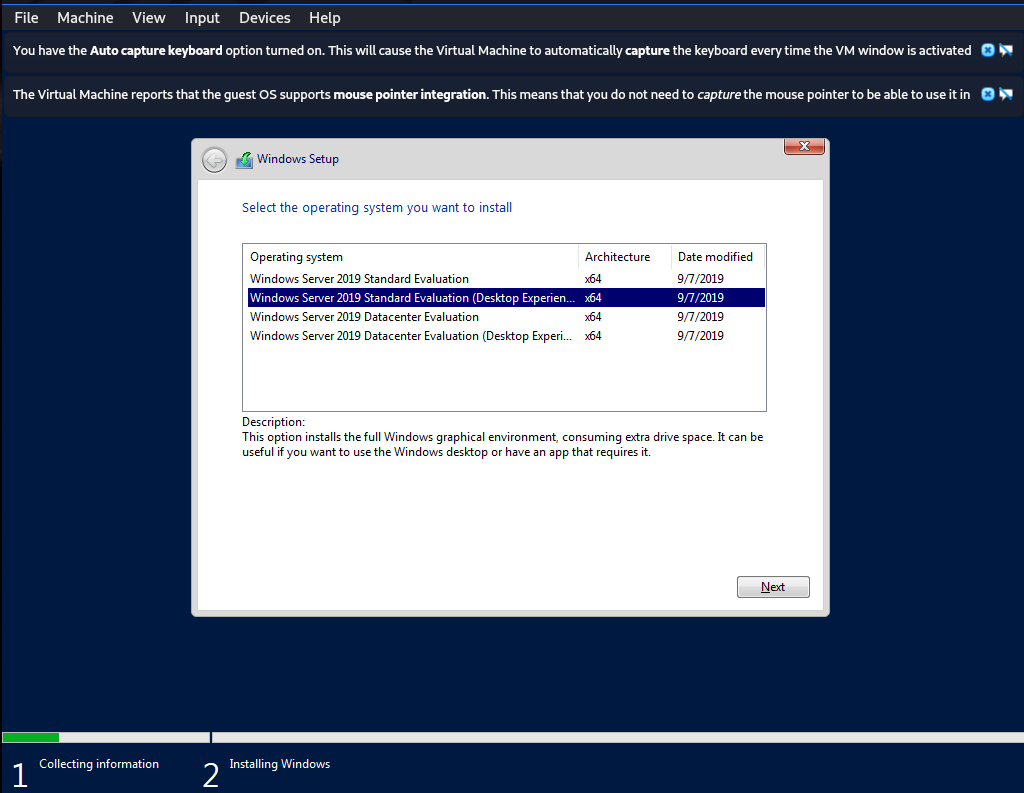
3. Installing Windows Server 2019
We have 2 steps to be careful.
1. Select “Windows Server 2019 Standard (Desktop Experience)”
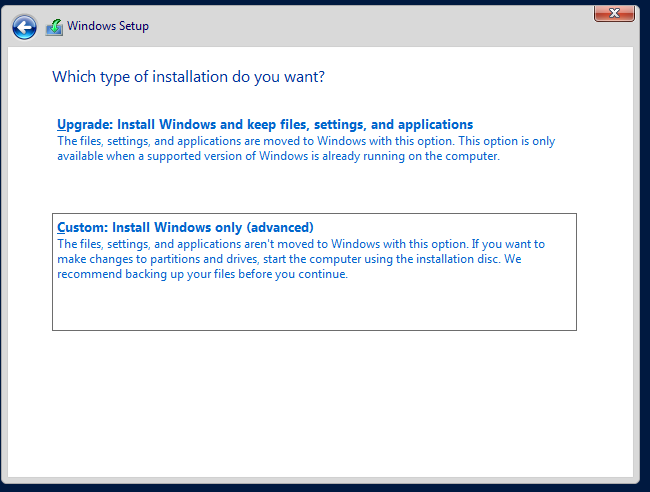
2. Select “Custom: Install Windows Only (advanced)”
4. Setup Active Directory
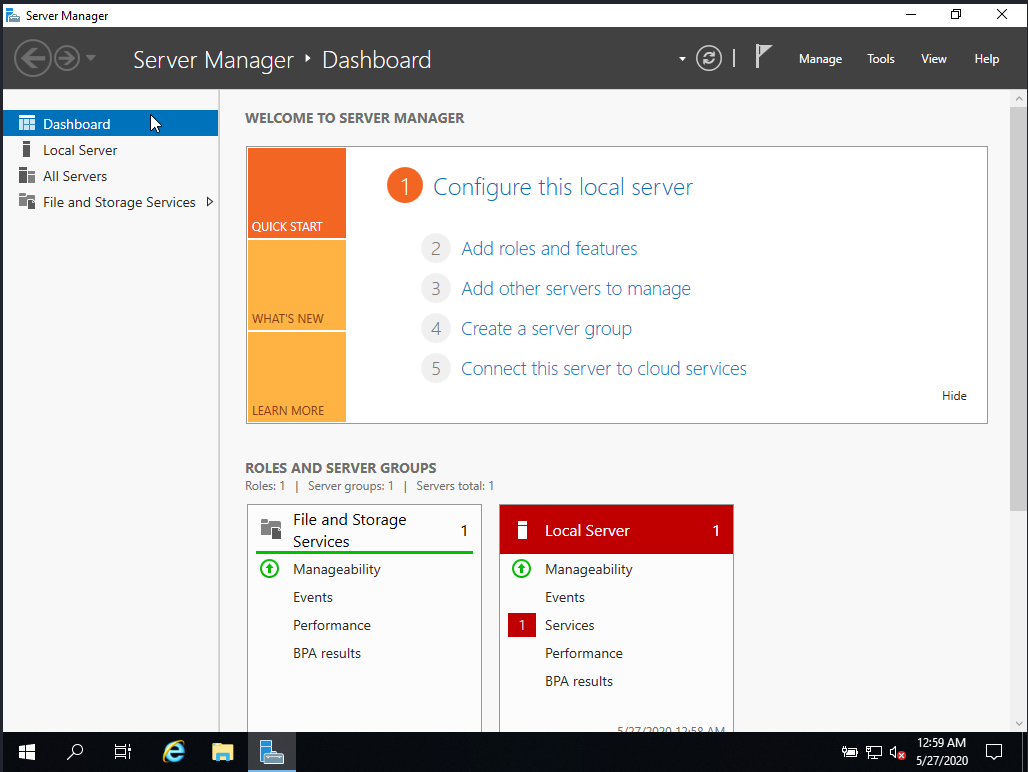
When we launch the server, Server manager is automatically started.
1. Click “Add roles and features”.
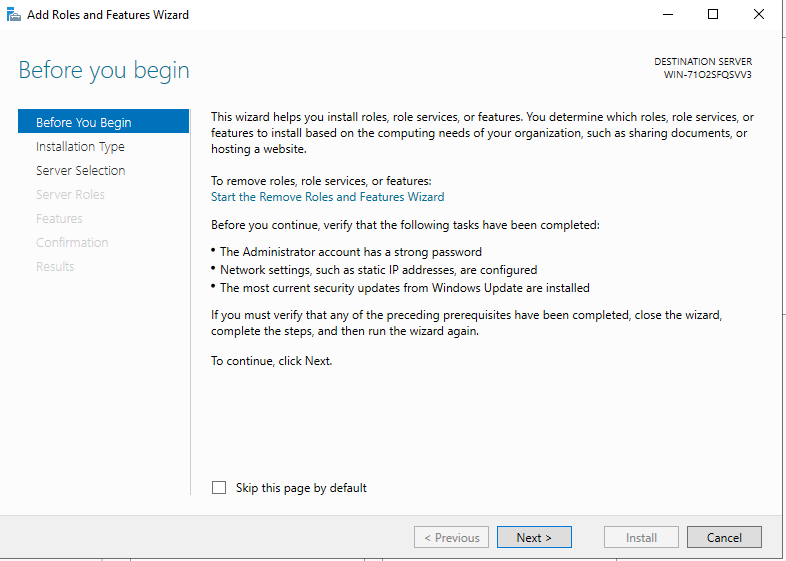
2. “Before you begin”
Click “Next”.
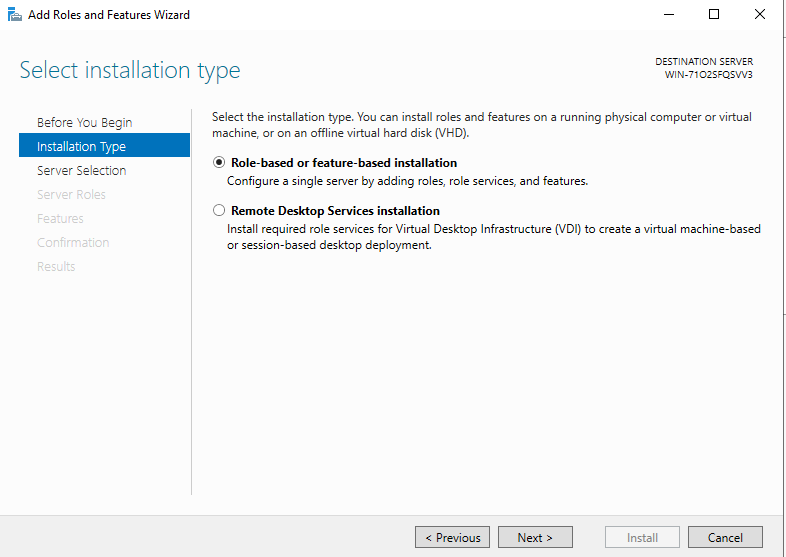
3. “Select installation type”
Select “Role-based or feature-based installation”.
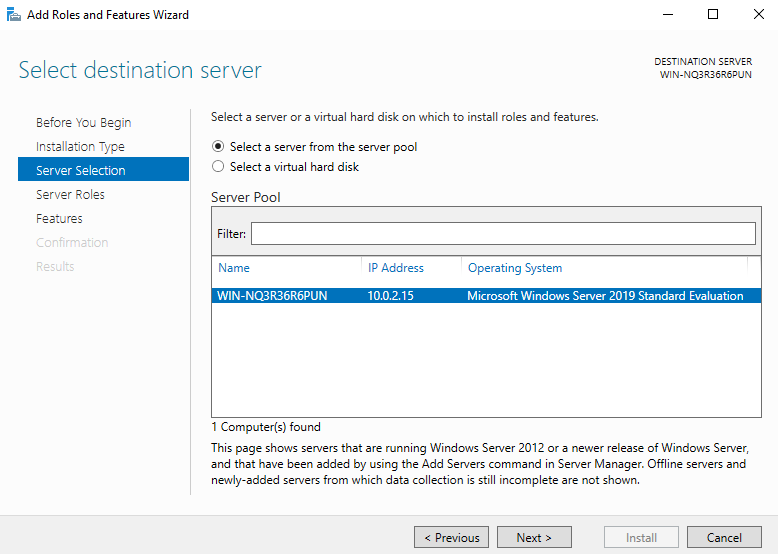
4. “Select destination server”
Select a server. This time, we have only one candidate “WIN-NQ3R36R6PUN”
5. “Select Server roles”
Select “Active Directory Domain Services” and add some features required for Active Directory.
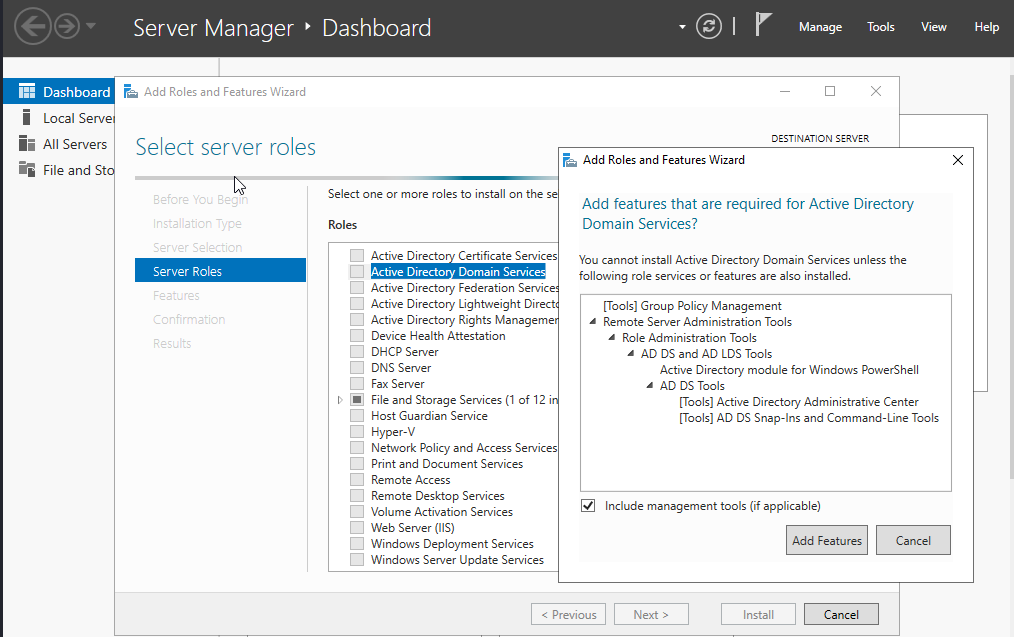
Confirm “Active Directory Domain Services” is checked and go next.
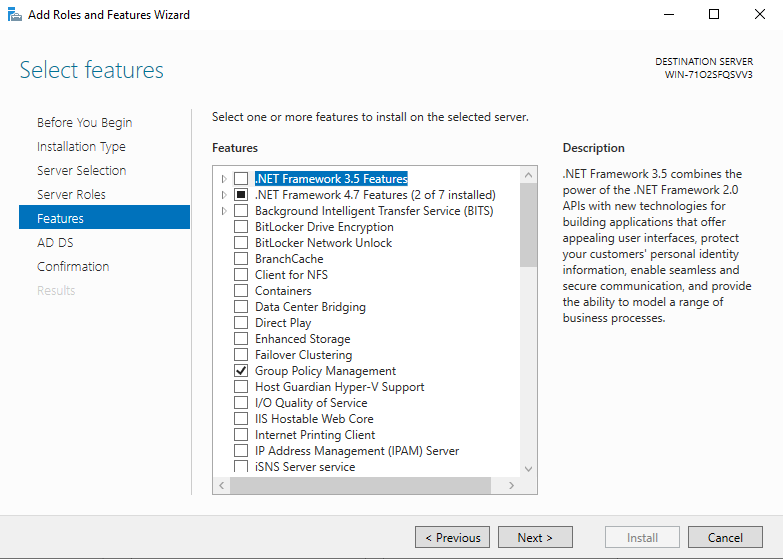
6. “Features”
We’ve already added features. Just click “Next”.
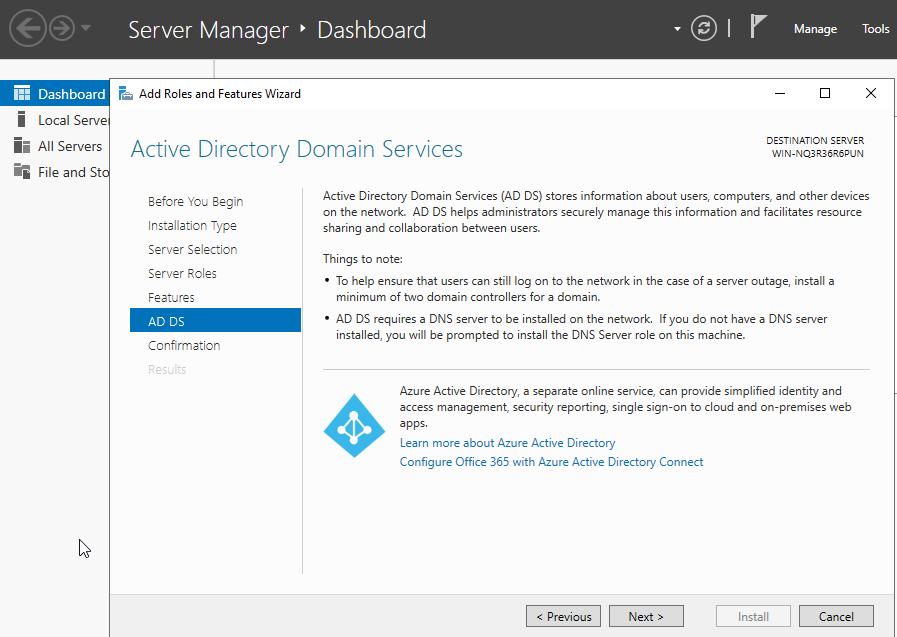
7. “AD DS”
Explanation for Active Directory. Click “Next”.
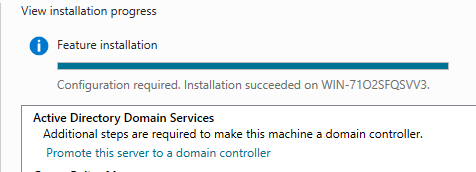
8. “Confirmation installation selections”
If no problem, click “Install”.
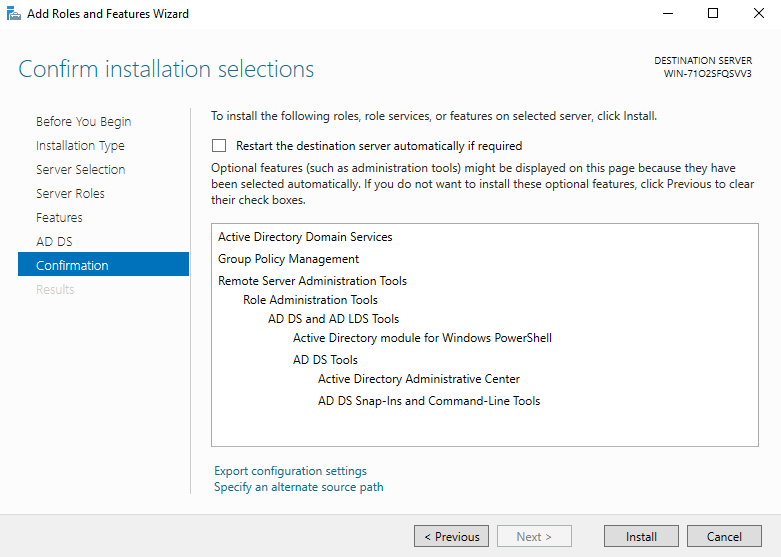
After installation, we can promote this server to domain controller by clicking the link.
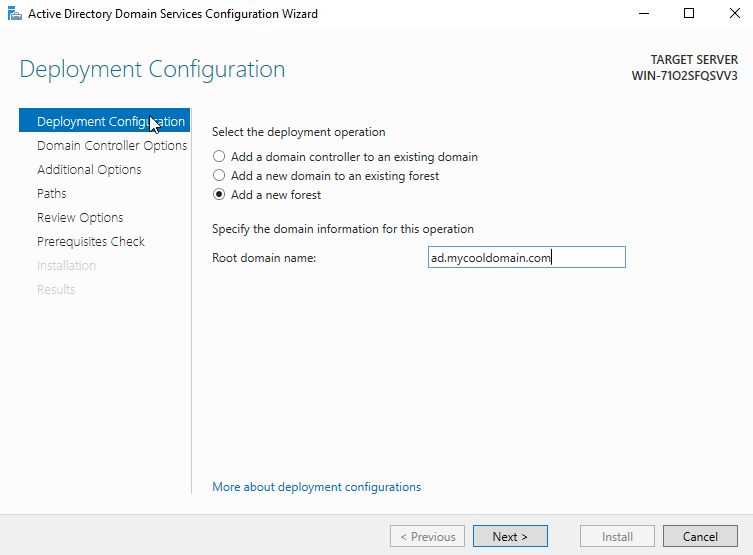
9. “Deployment Configuration”
If we click the “promote this server to domain controller”, we come to this section.
“Add a new forest” and set domain name, click “Next”.
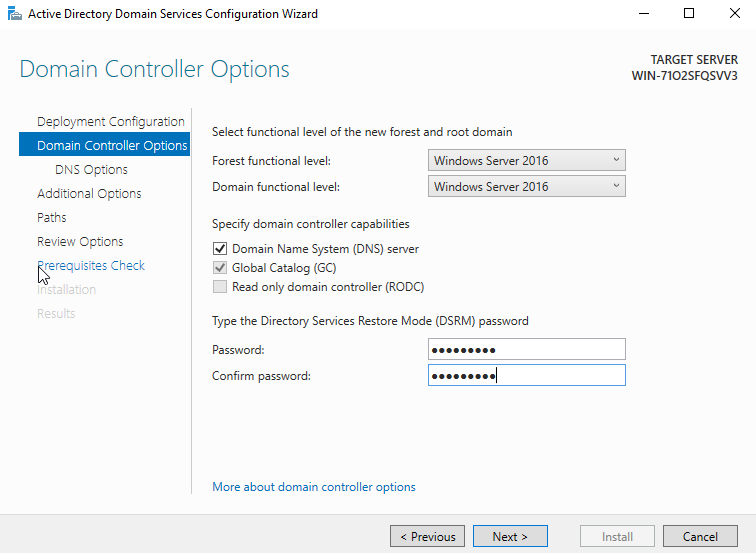
10. “Domain Controller Options”
Put password.
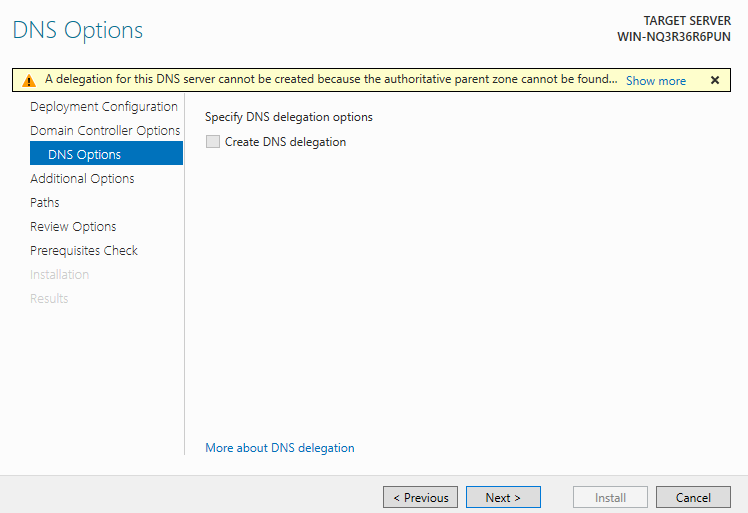
11. “DNS Options”
We don’t have DNS service, we can just click “Next”
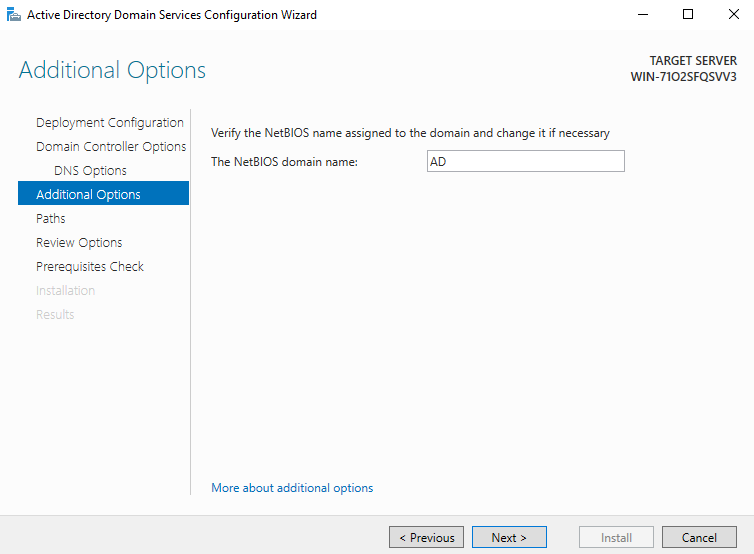
12. “Additional Options”
We can click “Next”, however the name “AD” is not suitable for the actual use.
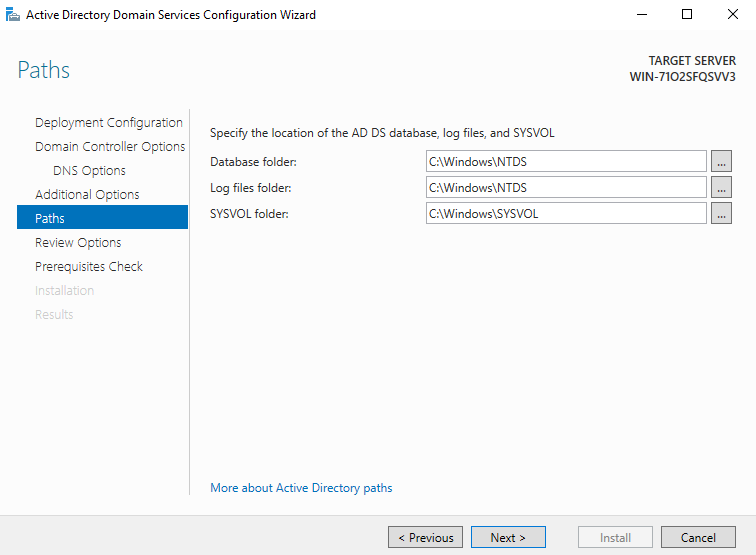
13. “Path”
Configuration for Database folder, log files and SYSVOL folder.
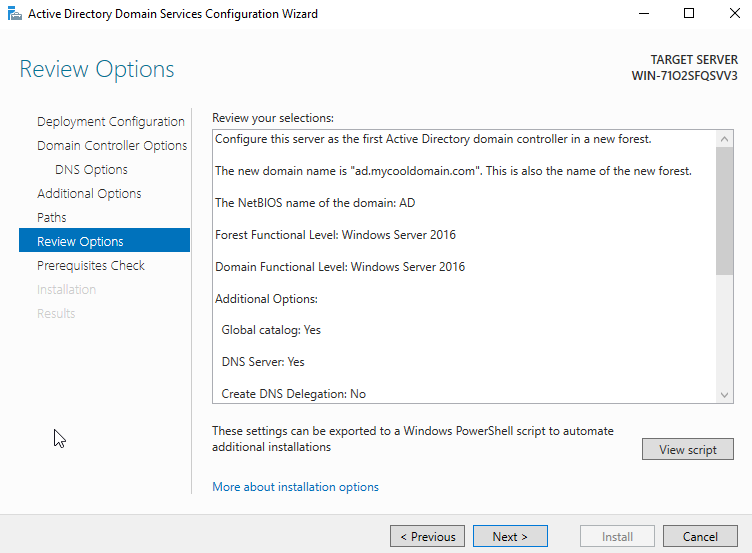
14. “Review Options”
Check the configuration and click “Next”
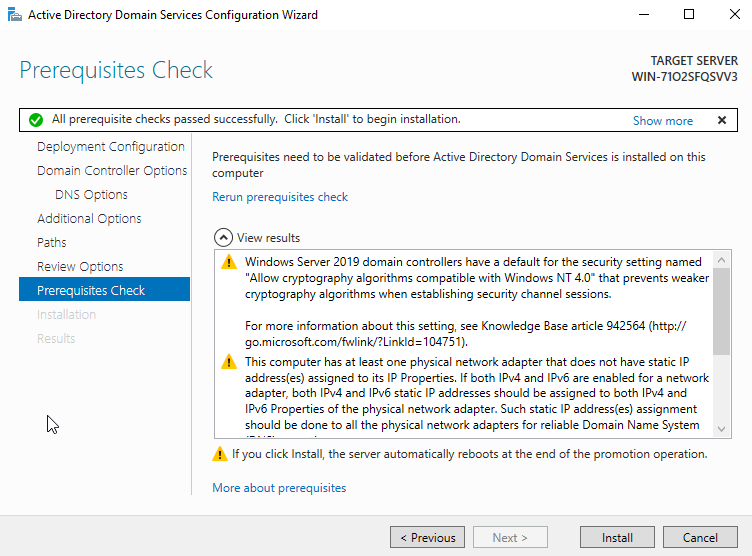
15. “Prerequisite Check”
We get some warnings.
However, if we have a message “All prerequisite checks passed successfully. Click ‘install’ to begin installation”
4. Testing
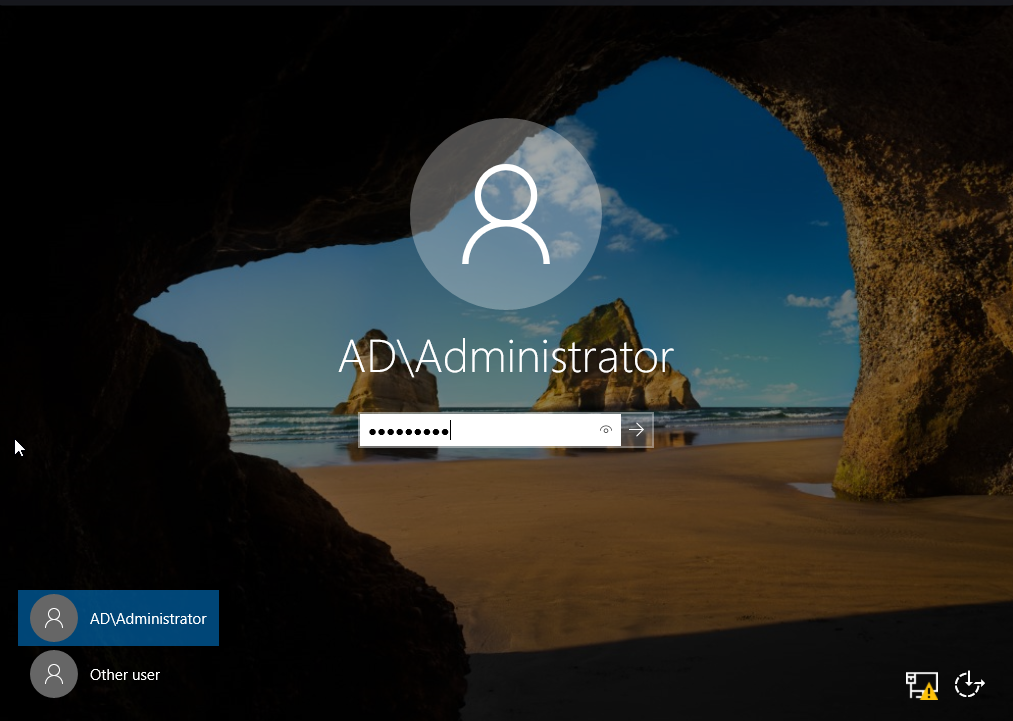
1. Login as administrator
Try to login as Active Directory Administrator.
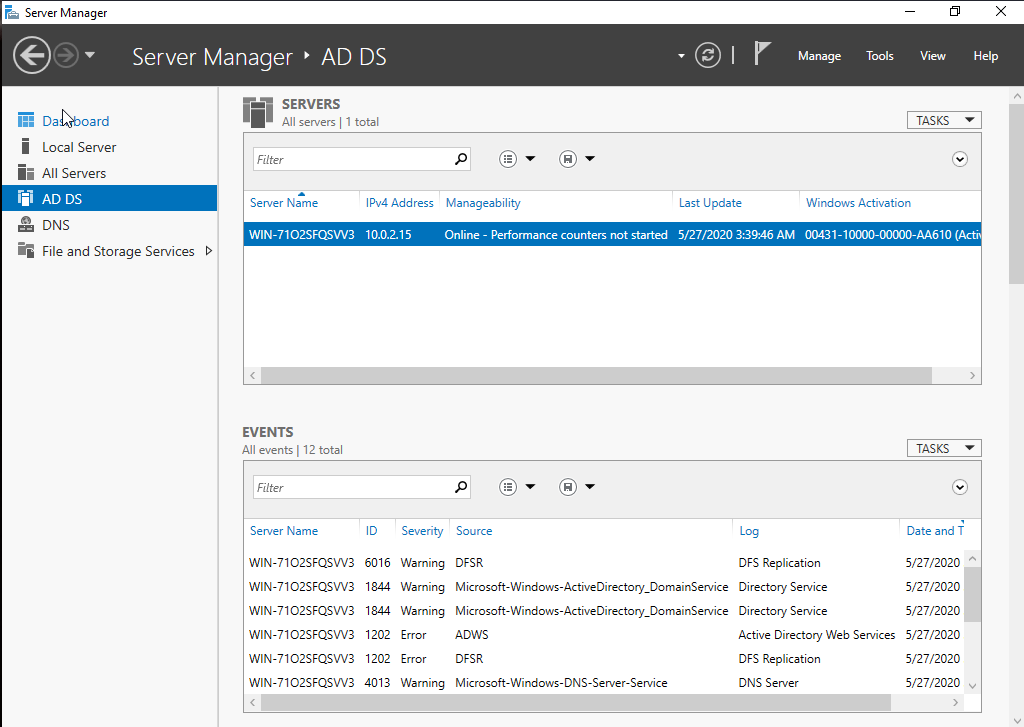
2. Server Manager
Now we have a menu for “AD DS”.
Click “AD DS” and check if we have our server name.
Also, if we right click, we can find that we have management menus for “AD DS”.
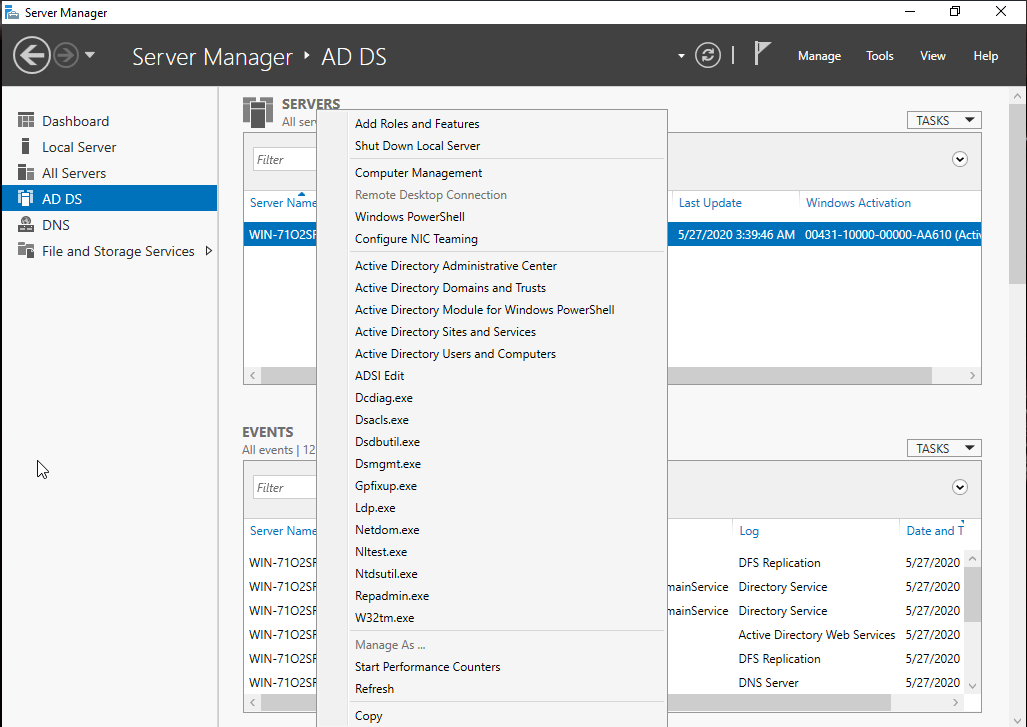
Click “Active Directory Users and Computers”.
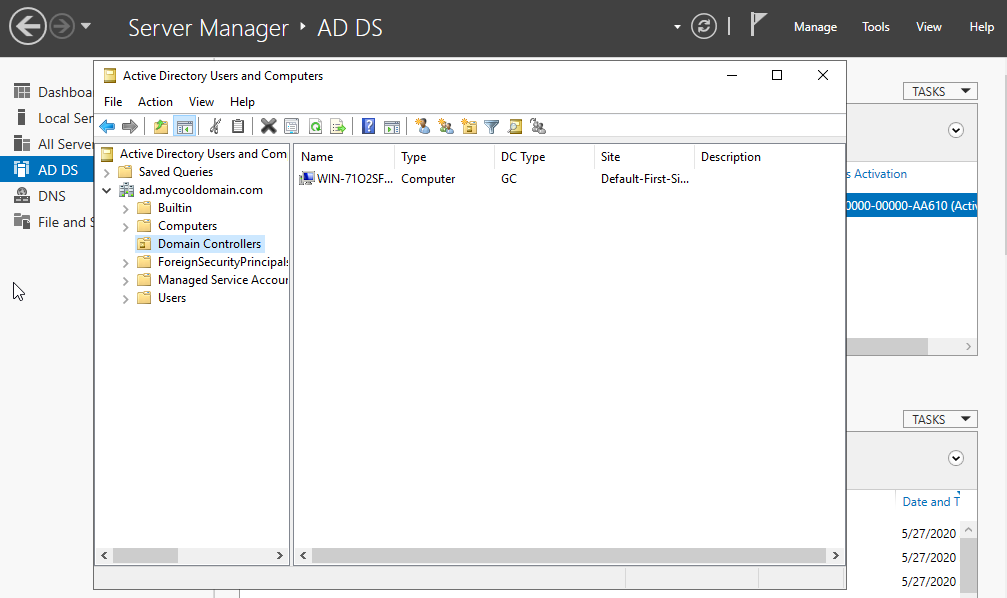
Then, go to “ad.mycooladmin.com” -> “Domain Controllers”. We can find that this PC is recognized as a “Domain Controller”.
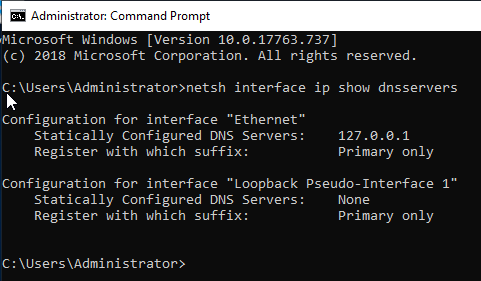
3. DNS configuration
If we have succeeded the configuration of DNS, it should be ‘127.0.0.1’.
netsh interface ip show dnsservers