Getting started Nessus
13 Jun 2020
Explanation
Nessus is a proprietary vulnerability scanner developed by Tenable, Inc.
This is a walkthrough of the initial setup and first scan of Nessus free edition using Kali Linux 2020.
Environment
- Kali Linux 2020
- Nessus: 8.10.1
Solution
1. Installation
Since we can’t install it with apt-get, we have to download the deb package from the website and install manually.
For the Kali linux, we can use the following version.

Click the filename and accept the license agreement. To install the deb package, we can use dpkg
root@kali:~# dpkg -i Nessus-8.10.1-debian6_amd64.deb
Selecting previously unselected package nessus.
(Reading database ... 460345 files and directories currently installed.)
Preparing to unpack Nessus-8.10.1-debian6_amd64.deb ...
Unpacking nessus (8.10.1) ...
Setting up nessus (8.10.1) ...
Unpacking Nessus Scanner Core Components...

 - You can start Nessus Scanner by typing /etc/init.d/nessusd start
 - Then go to https://kali:8834/ to configure your scanner

Processing triggers for systemd (245.5-3) ...
To run Nessus, we can use the following command.
root@kali:~# systemctl start nessusd

root@kali:~# systemctl status nessusd
● nessusd.service - LSB: Starts and stops the Nessus
     Loaded: loaded (/etc/init.d/nessusd; generated)
     Active: active (running) since Wed 2020-06-10 22:15:39 EEST; 4s ago
       Docs: man:systemd-sysv-generator(8)
    Process: 54984 ExecStart=/etc/init.d/nessusd start (code=exited, status=0/SUCCESS)
      Tasks: 11 (limit: 19010)
     Memory: 99.4M
     CGroup: /system.slice/nessusd.service
             ├─54986 /opt/nessus/sbin/nessus-service -D -q
             └─54987 nessusd -q

Jun 10 22:15:39 kali systemd[1]: Starting LSB: Starts and stops the Nessus...
Jun 10 22:15:39 kali nessusd[54984]: Starting Nessus : .
Jun 10 22:15:39 kali systemd[1]: Started LSB: Starts and stops the Nessus.
2. Gaining activation code
Go to Obtain an Activation Code.
This time, select free edition and push “Register Now”.
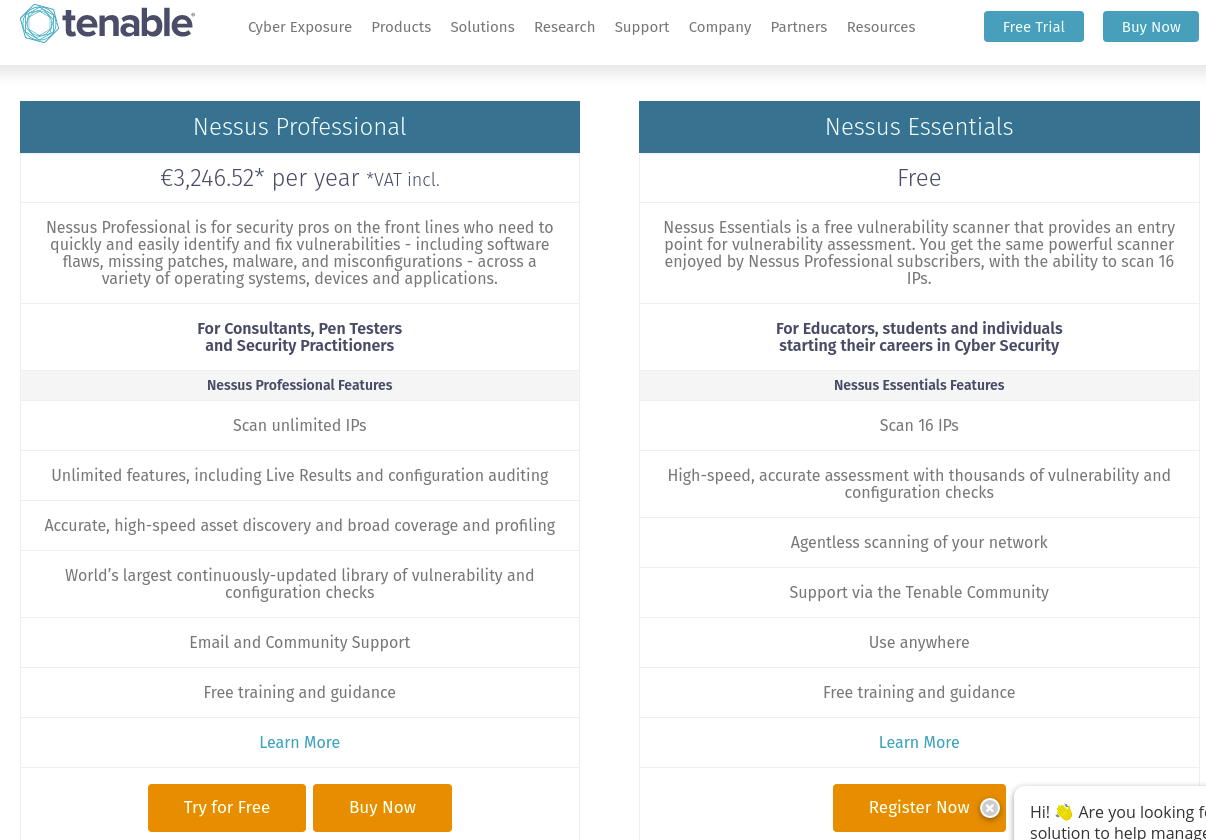
After that, fill out the personal information like full name and mail address.
The activation code will be sent to the registered email address.
3. Setting up
Go to https://localhost:8834.
Select Nessus Essential.
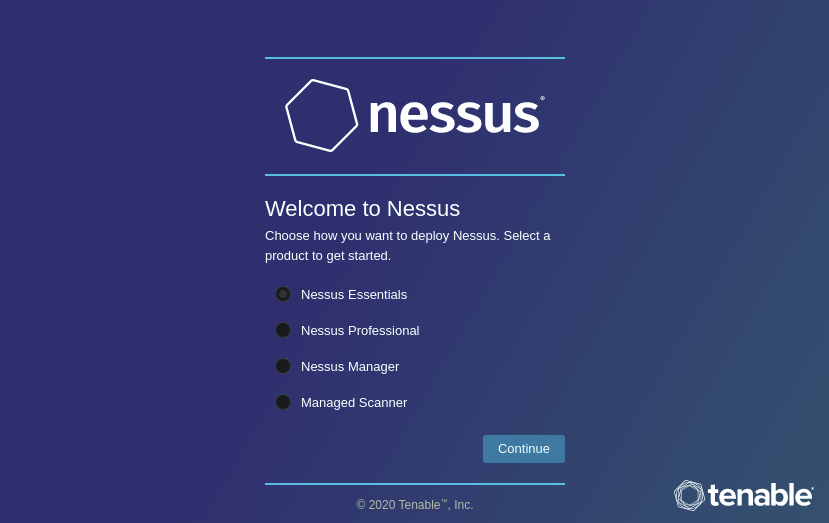
We can skip the next step because we already have an active code.
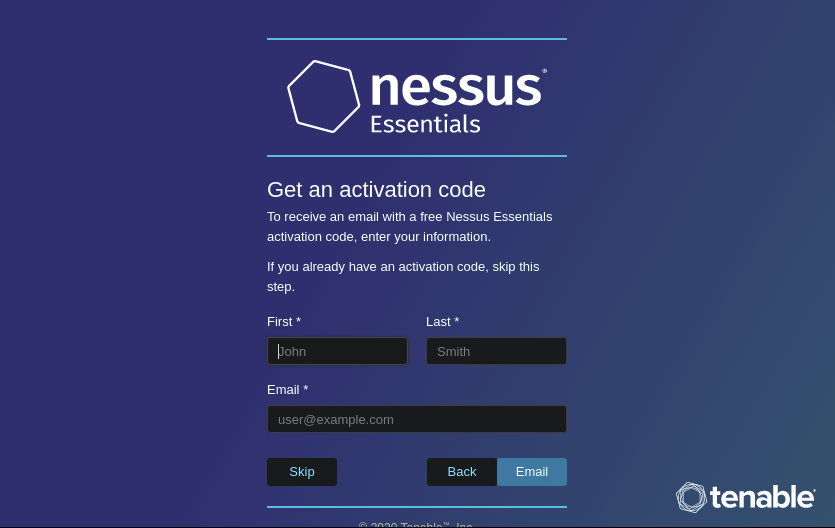
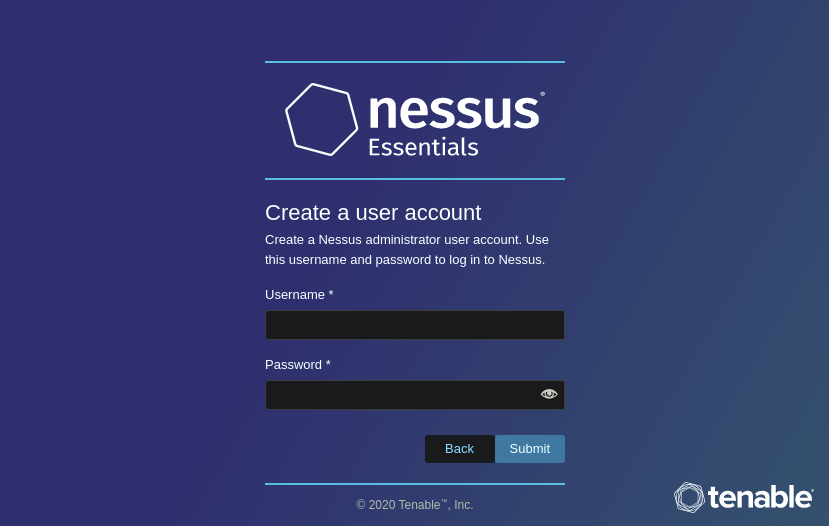
Then, create an username and password.
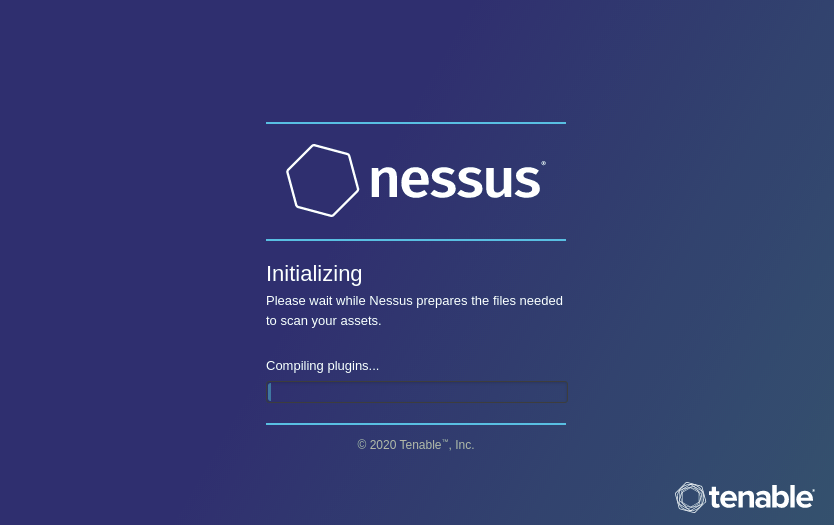
After that, it takes some time to finish the initialization.
4. Creating a new scan
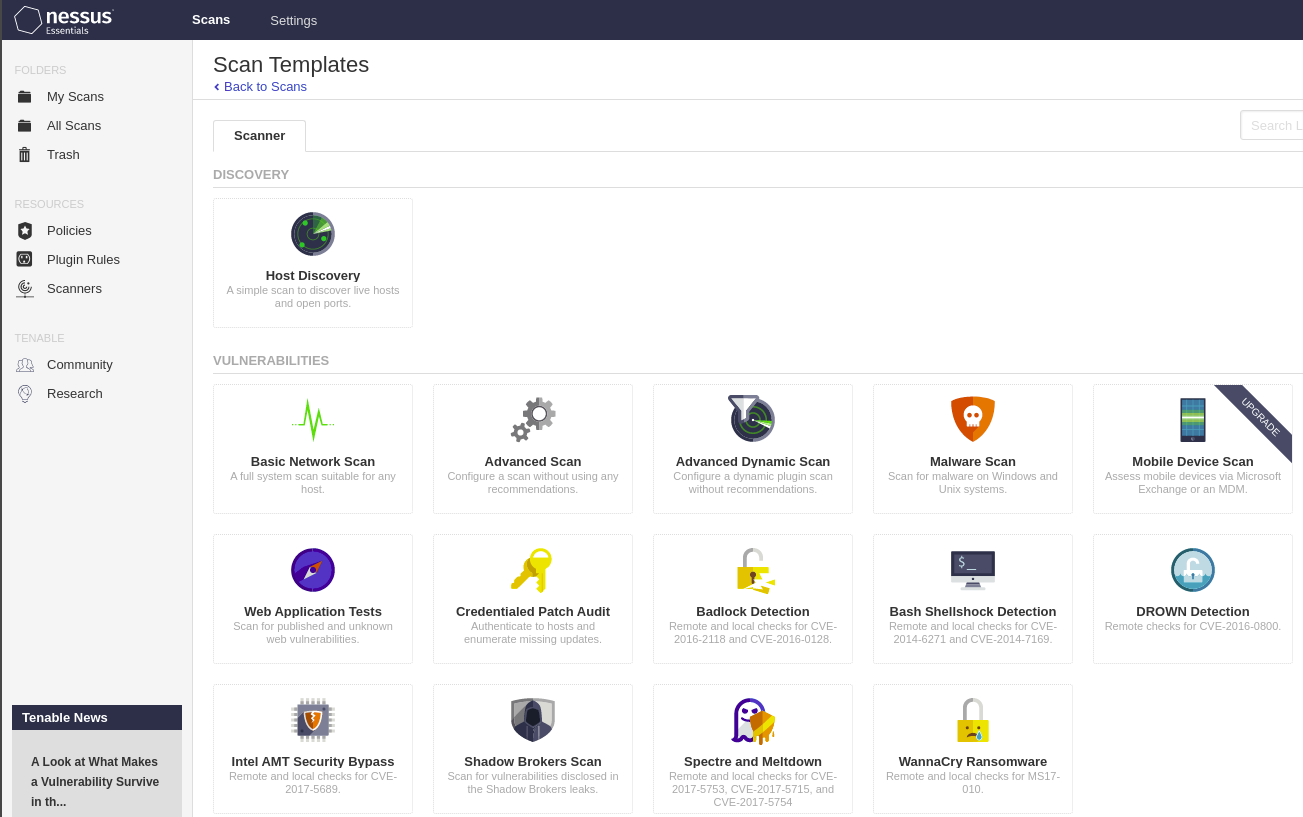
We have Scans Tab on console. Click and select New Scan on the right side.

After that, we need to choose the scan template.
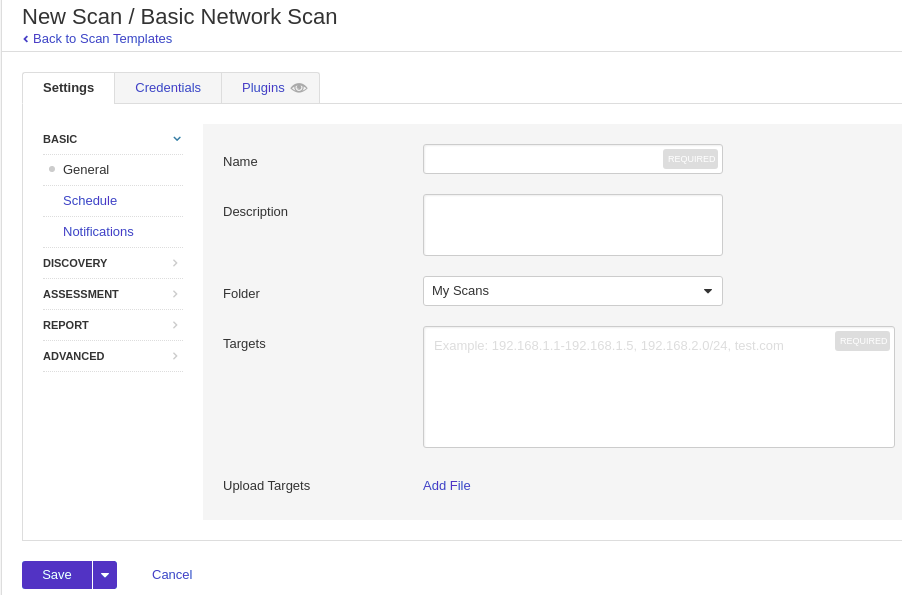
Then, setting up the target machine.
For the “Settings” tab, at least we need to specify the scan name and IP address.
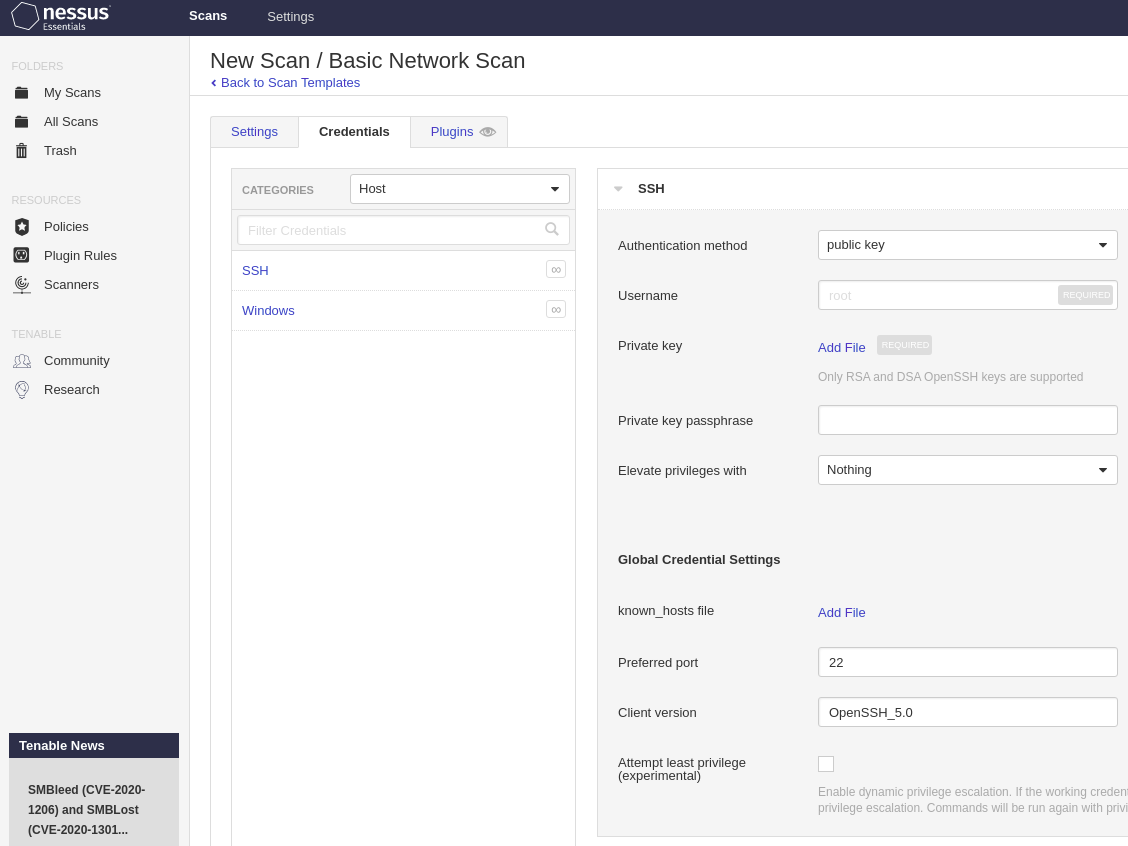
On the “Credential” tab, we can specify the username and password for each service.
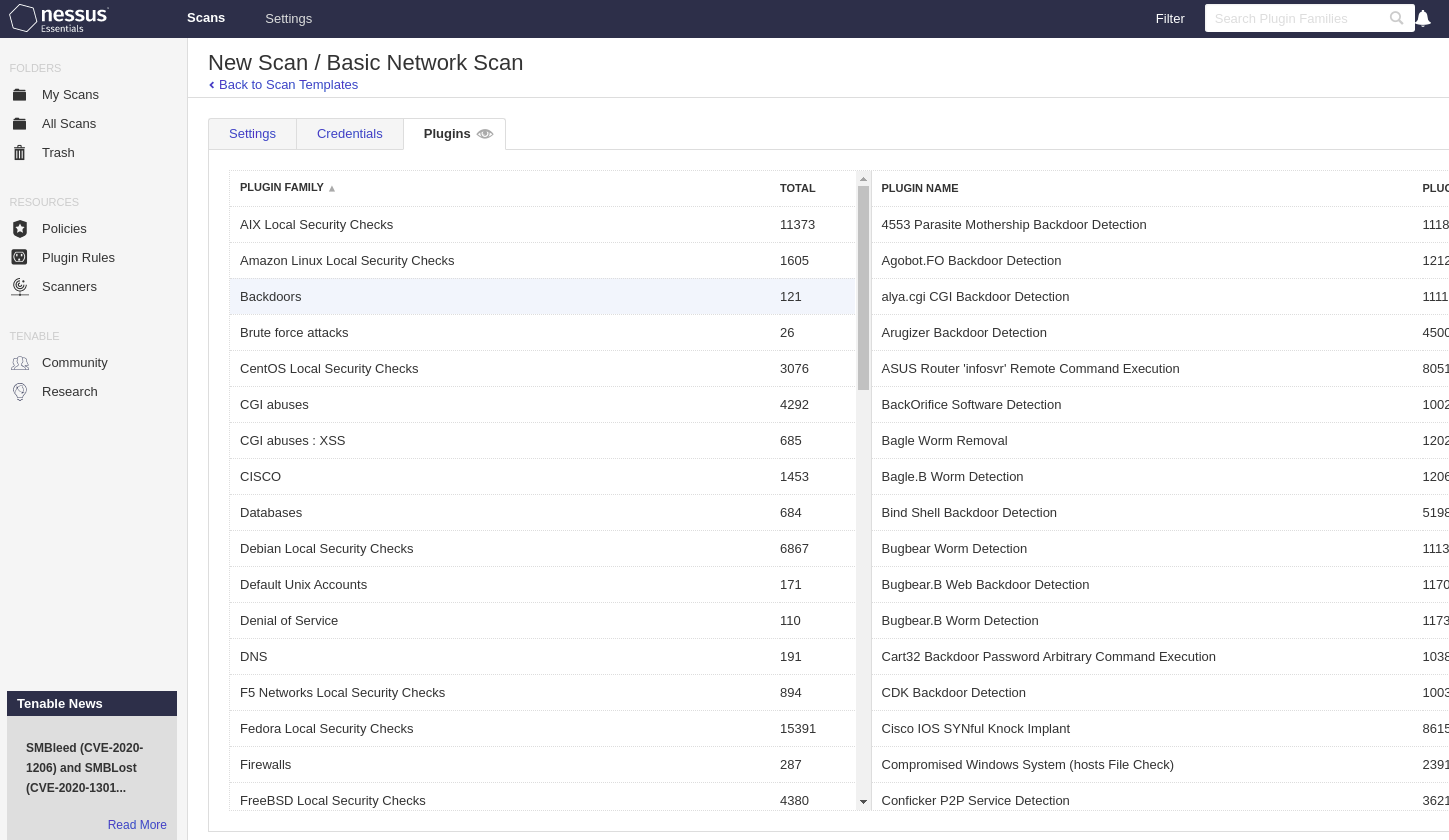
On the “Plugins” tab, we can select plugins to be enabled.
When finished the configuration, push “save” and go to “My Scans”.
On the right side, we have an icon to launch a scan.
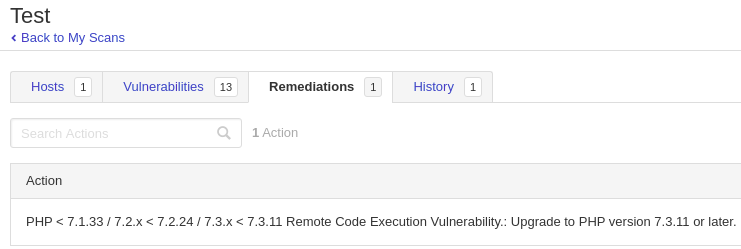
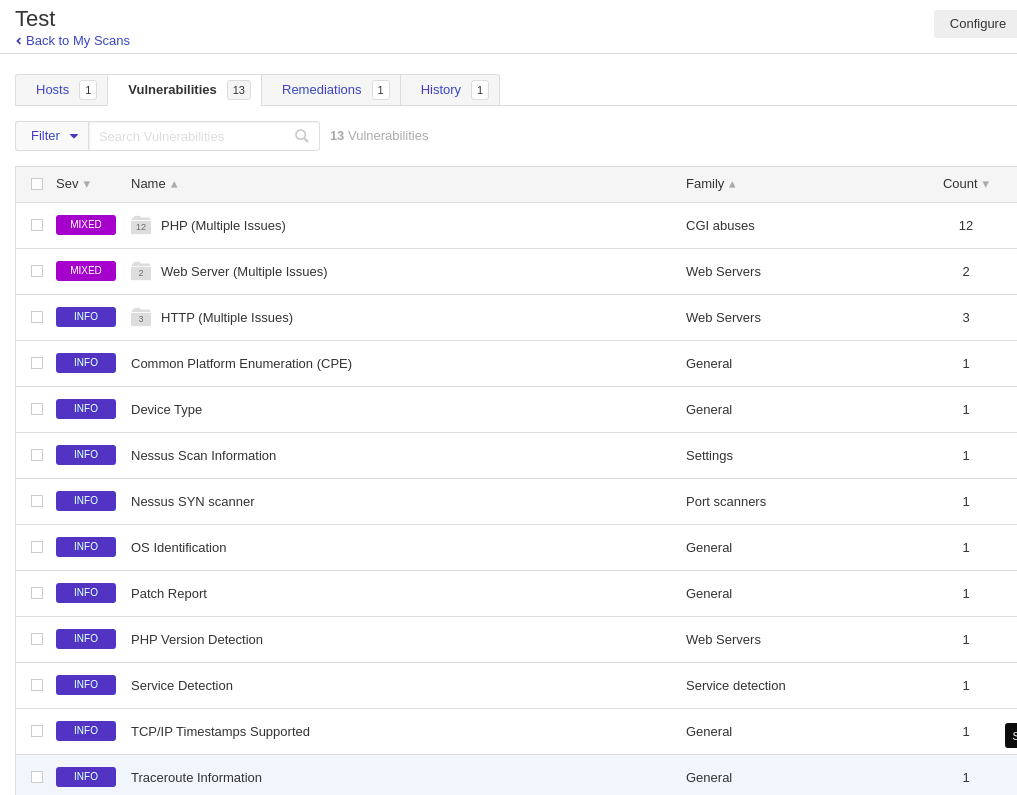
5. Scan result
Click the scan and go to “Vulnerabilities”. We can see the information about vulnerabilities.
We have “Remediations” tab as well. According to vulnerability info, it suggests how to improve the security.